Light weight image galleries are available with all site packages are not considered a separate module. Light weight galleries allow the user to put all the images into one folder and select the folder instead of inserting each image individually into the module. It also allows the user to set up automatic rotating galleries to give the effect of simple java or flash directly in the content area without the cost.
Setting Up The Image Folder
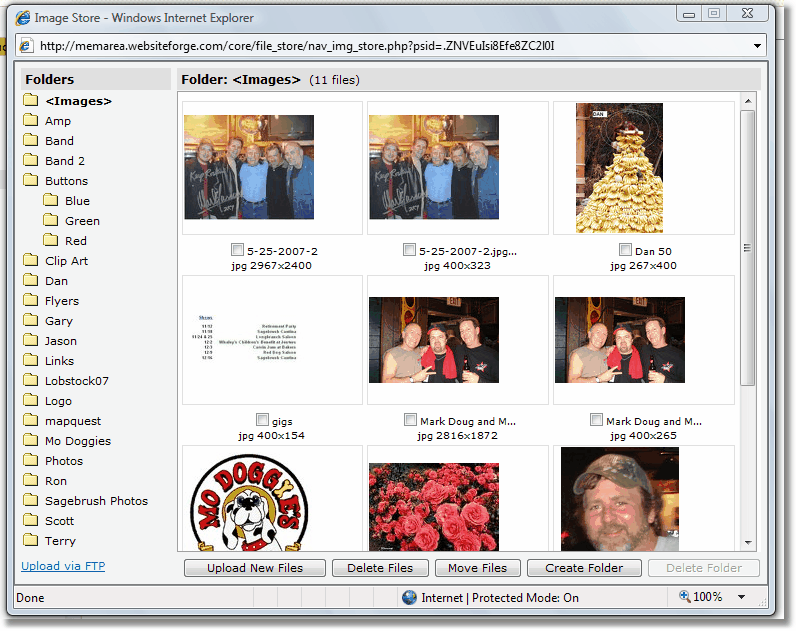
1. Log into your member's area and click on Upload & Manage Images.
![]()
2. For a light weight gallery you'll need to have all the images that you want to appear in the gallery to be located in one folder. To make this easier you'll just create a new folder in your Image Store to store them. With your Image Store opened up, click on <Images> so it's bolded. Down at the bottom of the window click the New Folder button. When the dialog box comes up, name the new folder. It could be as easy as calling it Image Gallery. See New Folder
3. Upload your images to your newly created folder by clicking on the folder that you'd like to upload to and then click Upload New Files. Click on Browse to find your images.
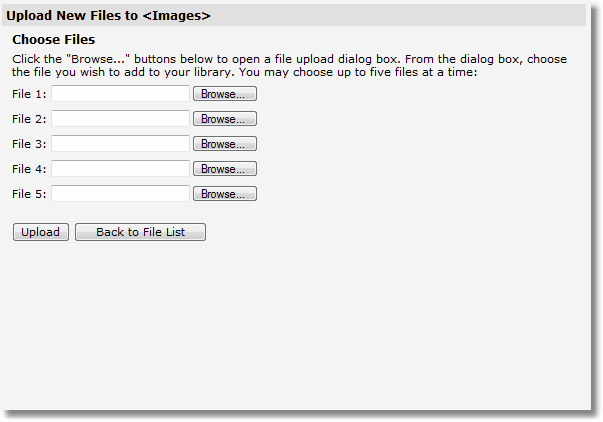
4. Once you've selected the files for your folder, click Upload and they will be added to your folder.
![]()
You'll need to have a page created already such as a home page or perhaps an Image Gallery page to display the images on.
1. Select the frame you want the gallery to appear on.
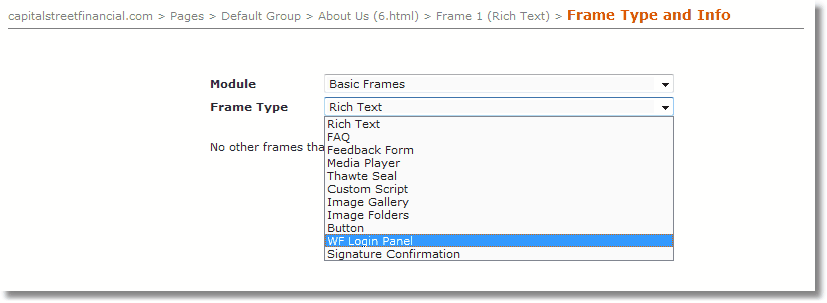
2. Select the Frame Type & Info icon (the lower case "i") from the toolbar.
![]()
3. From the Frame Type drop down select Image Gallery, then click save.
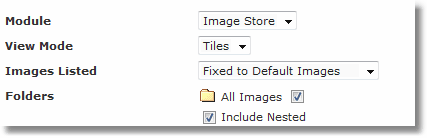
4. You'll next see the frame settings screen to set up your gallery. You'll need to uncheck the the box for All Images and check the box of the folder that you created in your Image Store.
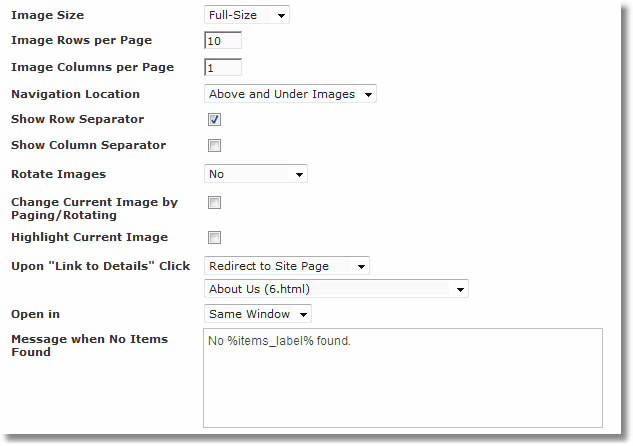
5. Next you'll need to decide if you are creating a Full-Size view of your images or thumbnails. If you're creating a Full-Size gallery, then the next step is to decide how many rows and columns you want to use to display them on. This will also be the case for a Thumbnail gallery. Please note that Full-Size galleries are best displayed with one column as the images are significantly larger and may stretch the page beyond the site template if displayed in more than one column. If you plan on using navigation buttons to allow your users the ability to scroll through the images one by one, then choose where you'd like to display those buttons: Above and Under Images, Above Images, Below Images, or Do Not Show. You can also have row and column separation lines. You may also select whether or not this gallery will rotate and how it will rotate either Manually or Automatically.
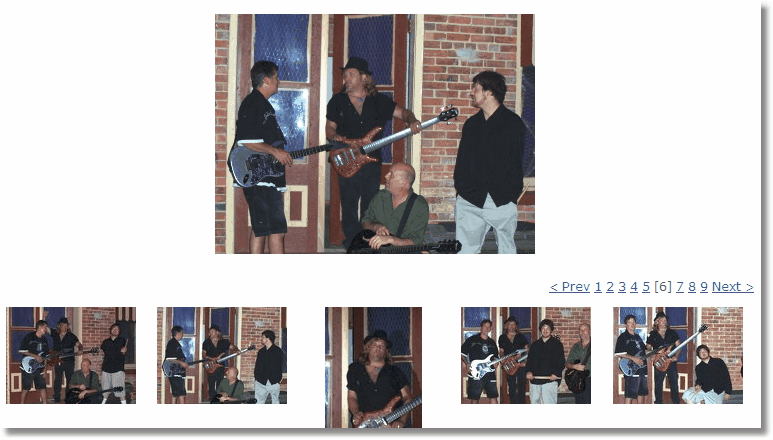
For Thumbnail Galleries, you can have the images display the full sized view on the same page, but it will not allow them to redirect to see the larger view of the thumbnail. You must first create the page and place a Full-Size gallery on that page. You must also have a frame to display the thumbnail view.
Follow the instructions above but select Thumbnail for the last step in the second frame. Here is an example:
Create a Rotating Gallery
| 1. | Follow the instructions above on setting up a gallery page through number 4 except that you need to change the Full Sized frame to Affected by Search. |
| 2. | At step 5 choose 1 row and 1 column. Choose to rotate the gallery either manually or automatically. If you choose automatically, then you'll need to set the rotate speed. Remember that in the virtual world, anything longer than 3 or 4 seconds can seem like an eternity. |
| 3. | Click Save |
Here are a couple of examples of rotating galleries:
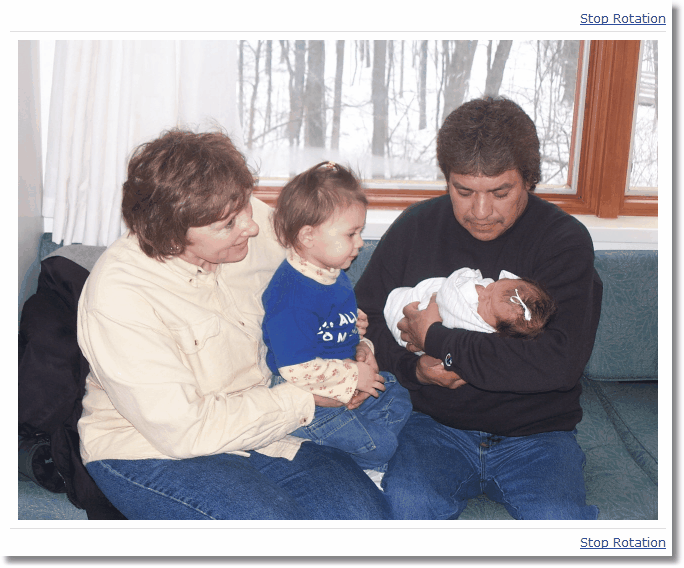
This allows you to have pictures of events rotate through...or
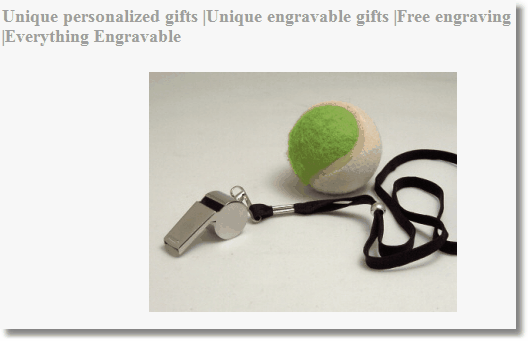
You can rotate your product images so more can be seen.