Create a new Photo Gallery module
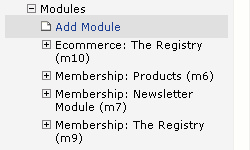
1. Select <Add Module> from the left navigation menu
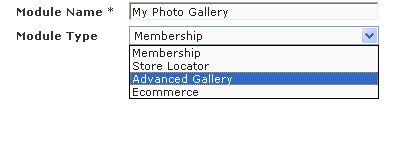
2. Give the module a name and select Advanced Gallery as the Module Type. Click  to save your new module.
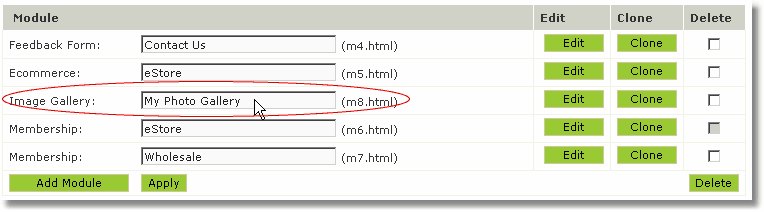
3. After saving you are directed to the Module List. You should now see your new module listed
Add Images to an Advanced Gallery
1. Select +Modules from the left navigation in your member's area.
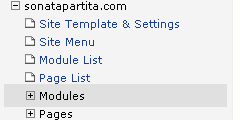
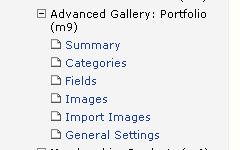
2. Select +Advanced Gallery: My Photo Gallery (m8) (may be named differently for your site.) then select Categories from the expanded tree under Advanced Gallery.
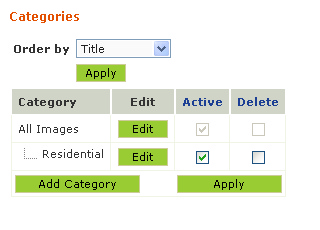
3.There is one root folder already created named All Images. To create another one for Commercial, for example, click on the green button Add Category.
4. Title the category Commercial, and leave the Place After at <Place to Top>. You may put in a description if you wish, but it is not required.
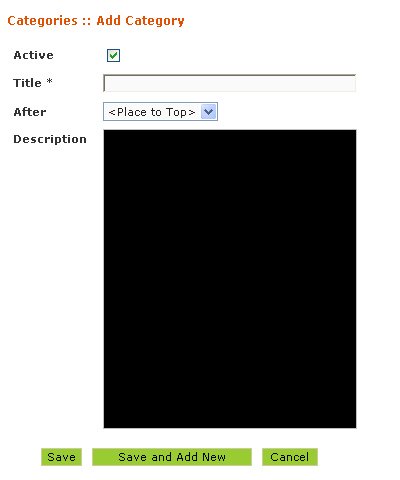
5. Click Save at the bottom of the page if you are only adding one category in at this time. Click Save and Add New if you plan to create all your categories at this time.
6. Once you have finished creating all necessary categories, select Images from the left navigation under Advanced Gallery. This will bring you to the area where you will add images to this gallery.
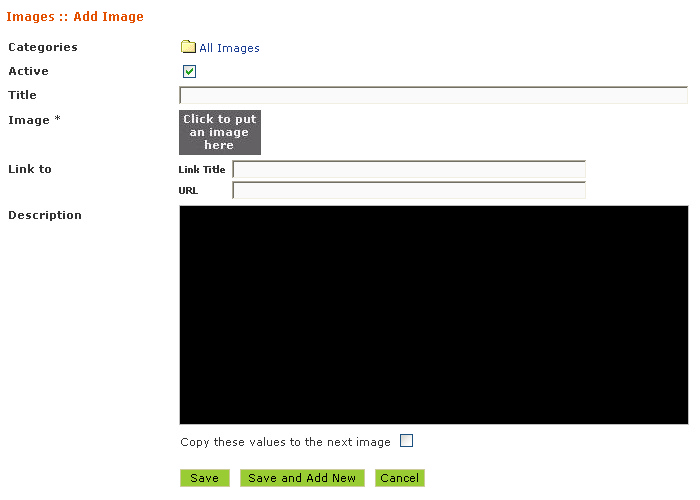
7. To add images, select Add Image.

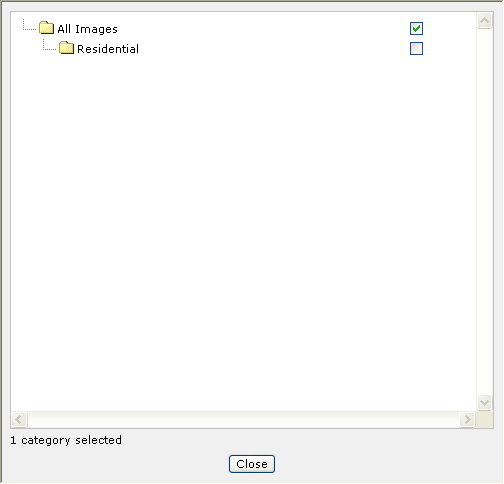
8. Click on the folder for to select the specific category you'd like to place this image into; ie: Residential, Commercial, etc.
9. To add the image into this portion, click on the gray box that states: Click to put an image here, and the Image Store will pop up allowing you to choose the correct image.
10. If you plan to add more images, then uncheck the box that copies the values to the next item and click Save and Add New. If you don't plan to add more images, then simply click Save.